T56 swap in progress:
Parts list:
Trans: D&D spec LS1 T56
Shifter: Pro 5.0
Bellhousing: Quick Time 6023-PB (pivot ball)
Crossmember: X-Factor XFGM-10301 Aluminum
Clutch: Centerforce Dual Friction DF148552
Speedometer: Garmin, baby!
Driveshaft: Denny's 3.5" Aluminum
Bearing retainer/collar: CAGM-50003 (American Powertrain)
Scotch: Macallan 12 year
Wiring info, AAW part numbers for reverse lights and reverse lock out:
500952 T56 Backup Light Switch Pigtail Wires
500950 T56 Reverse Lockout Module Pigtail Wires
Below are the pics of the 6023PB and how it did not fit on the trans out of the box.
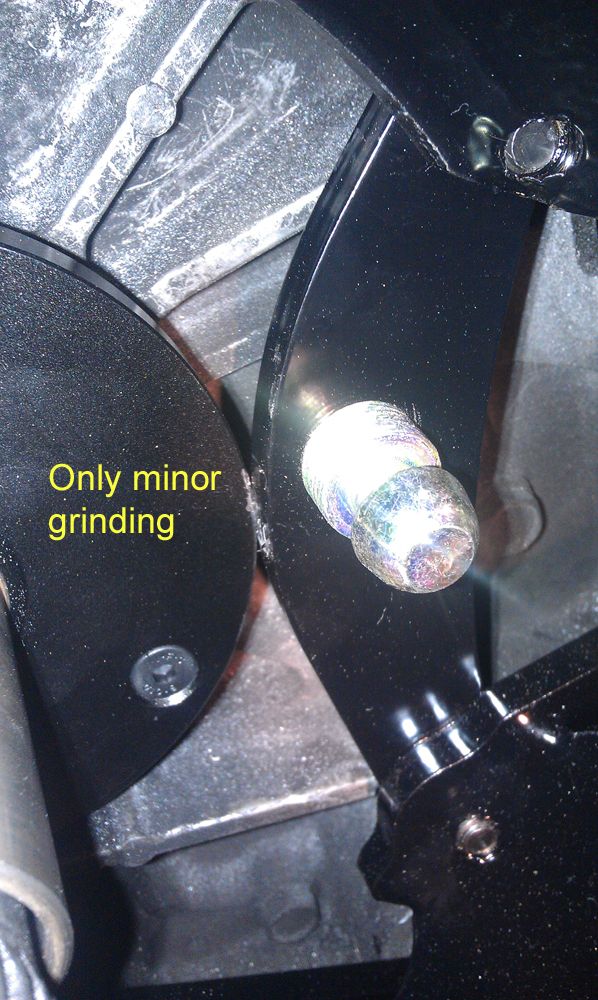
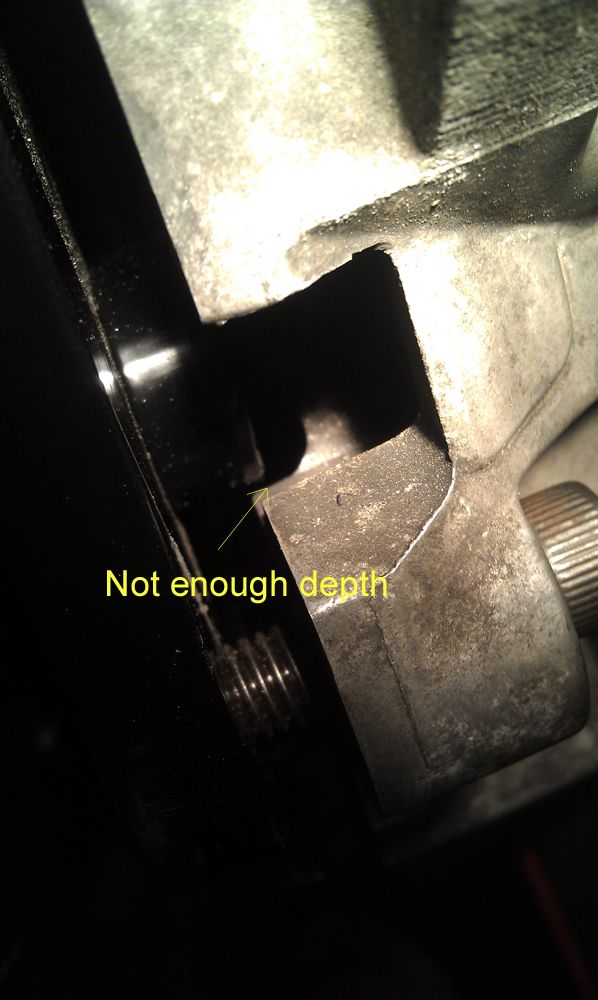
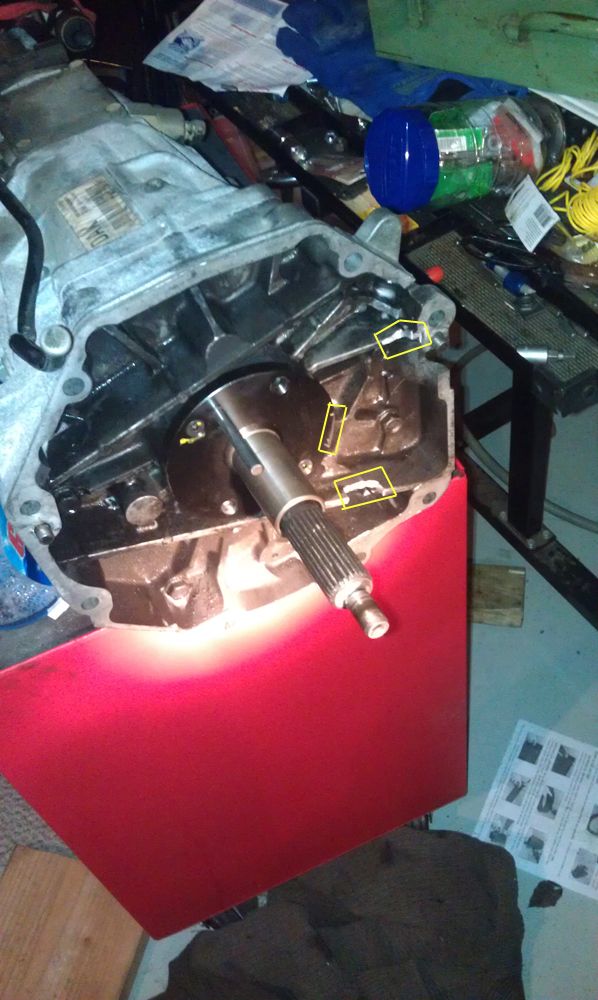
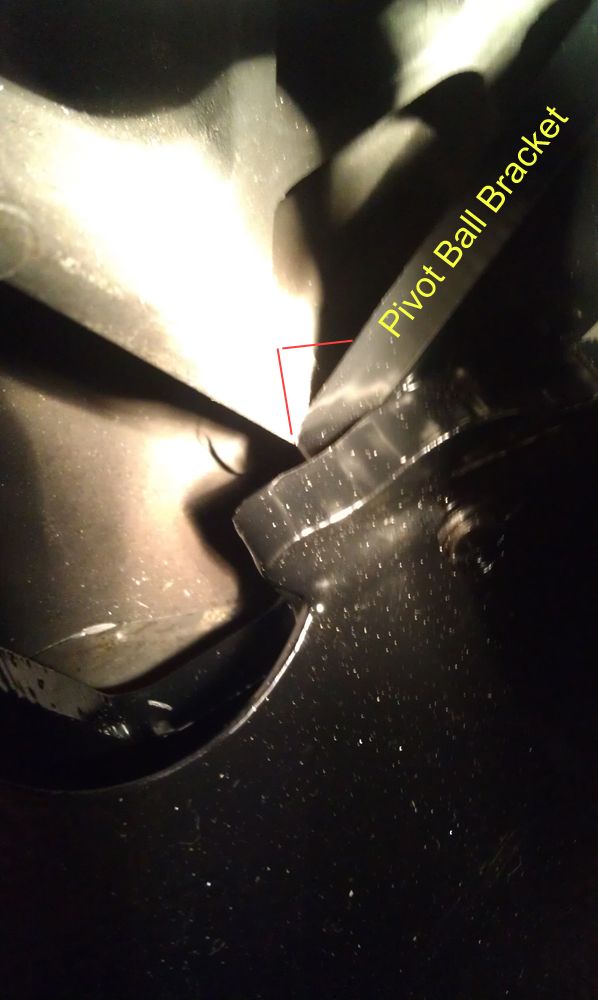
I contacted Lakewood, where the tech was very nice but couldn't help too much, so he sent me to Quicktime's rep, who was also nice but couldn't help, and lo and behold a few days later I am contacted by the CEO/head of development at Quicktime to discuss my woes.
I will say that I got great service and support from them, and the CEO took a lot of time to explain to me the ins and outs of how everything goes, from spec'ing a bellhousing for production all the way to installation.
At the end of the day, I was "kind of" right with my post above. This bellhousing fits a Mag very well. However, it should also fit MOST of the LS1 T56's out there with no issue. Mine is an exception- there are 25+ different configurations of front plates out there, and I drew the short straw.
So for those of you at home, you will probably be fine, but in the off chance you are not, be aware that you may need to do what I did. Have no reservations about grinding though- that area is more than strong enough.
I will also be forwarding my trans tags to Quicktime so they can get a hold of one like it to test.
Made some strides over the last week:
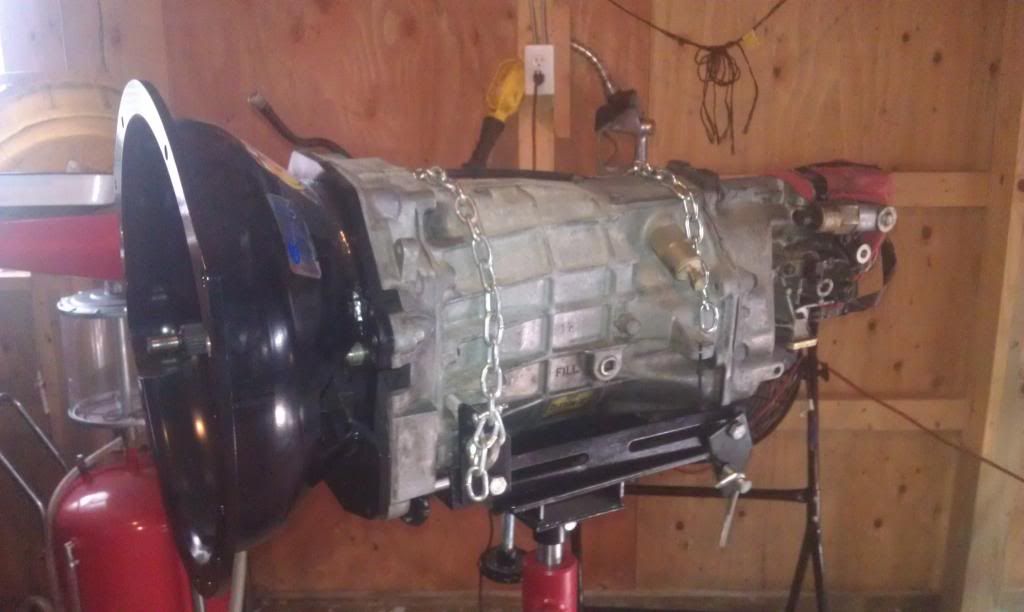
Here it is ready to go in. It's been said a lot, but it's a big sucker.
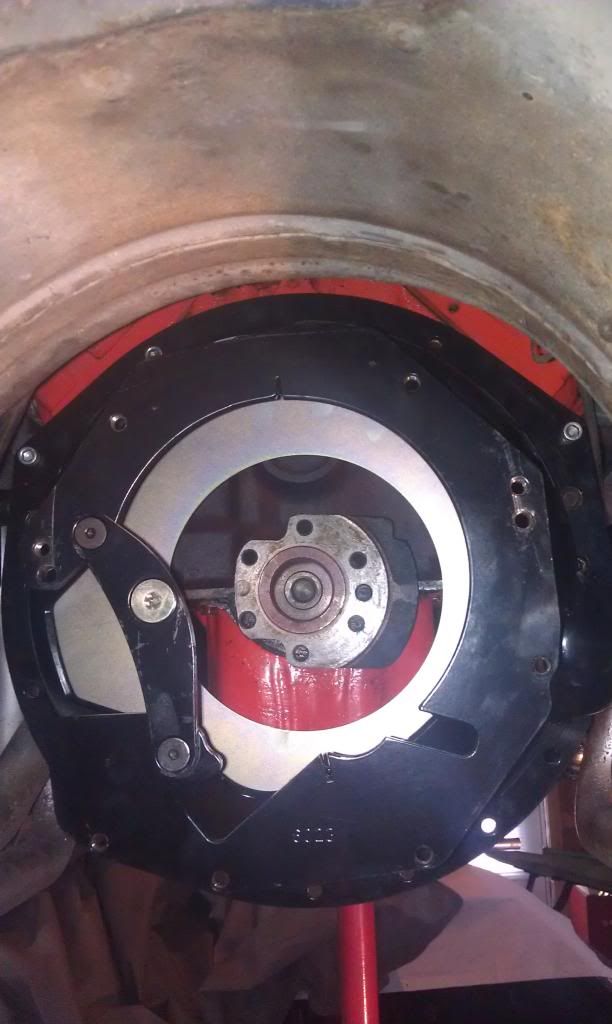
Bellhousing and block saver bolted up perfectly. No issues at all there. Plenty of room around the bellhousing.
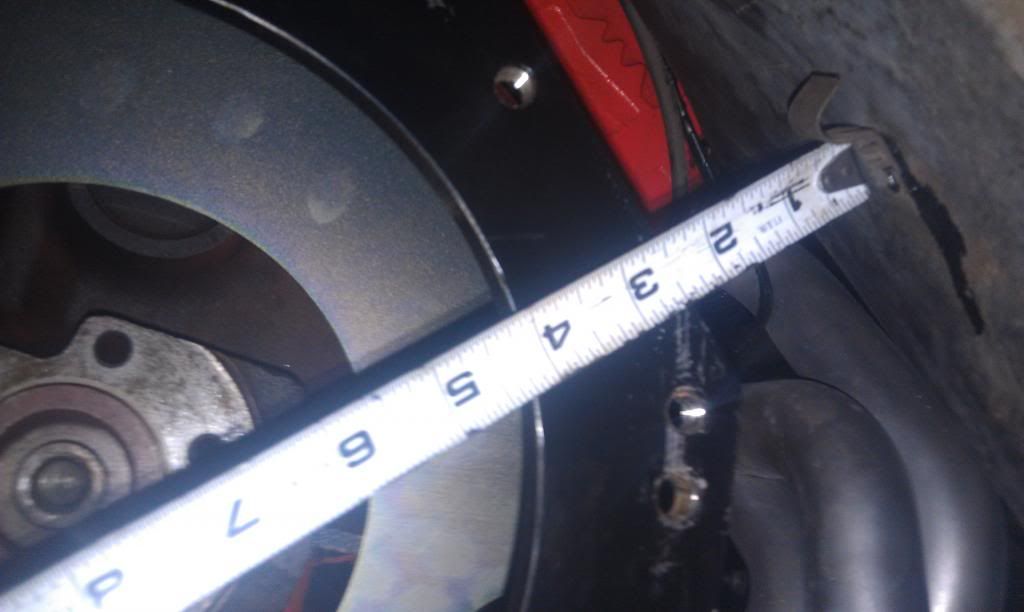
Was like this all around, even though the engine was hanging at this point.
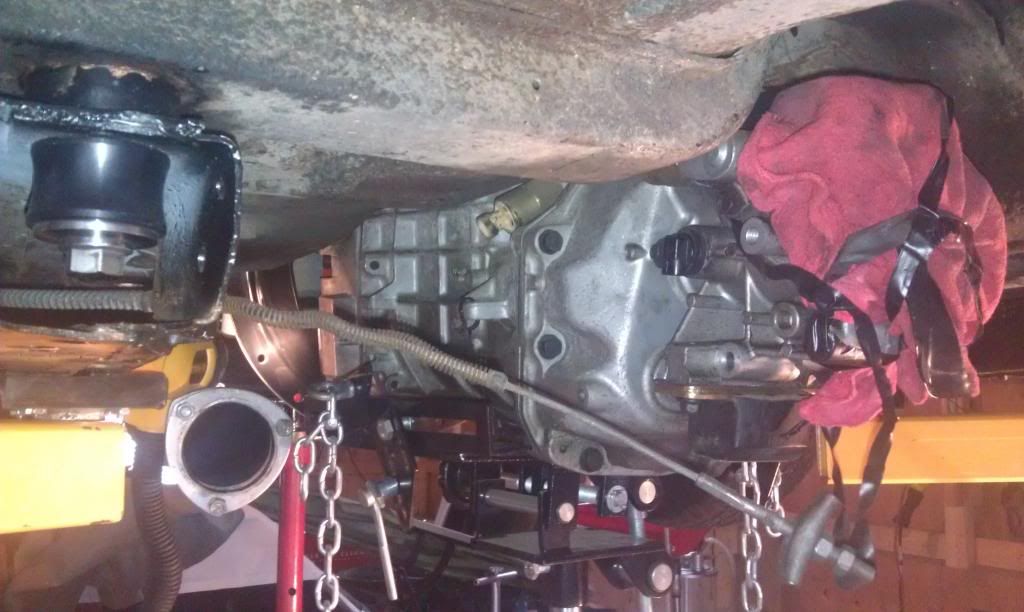
Underneath, with the trans as high as it would go in the tunnel
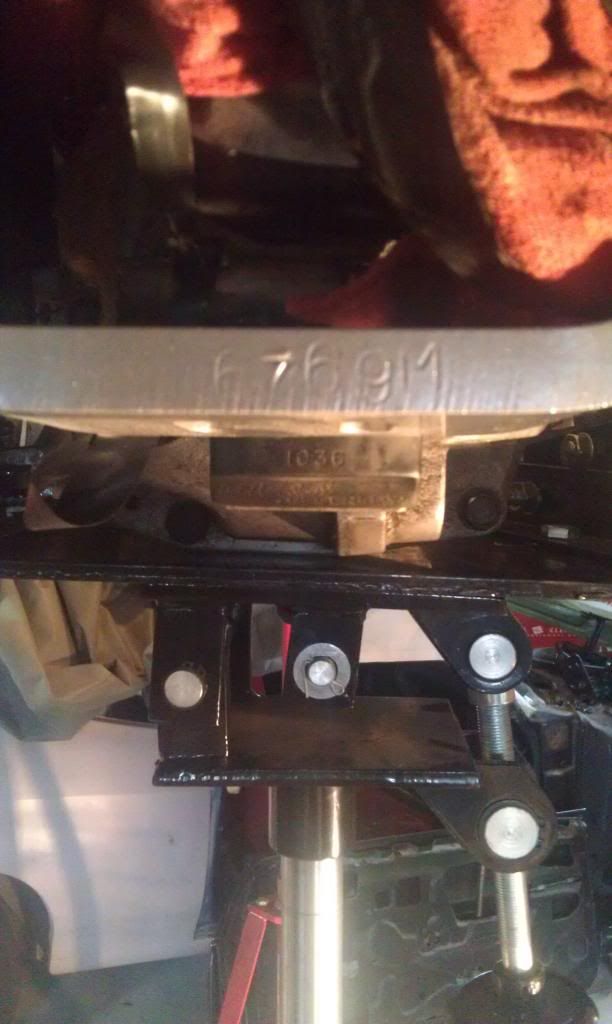
The biggie. The transmission is as high as it would go in the tunnel and you can see how much further it has to go based on how much the trans mount sticks out underneath the crossmember. It had to go up pretty significantly.
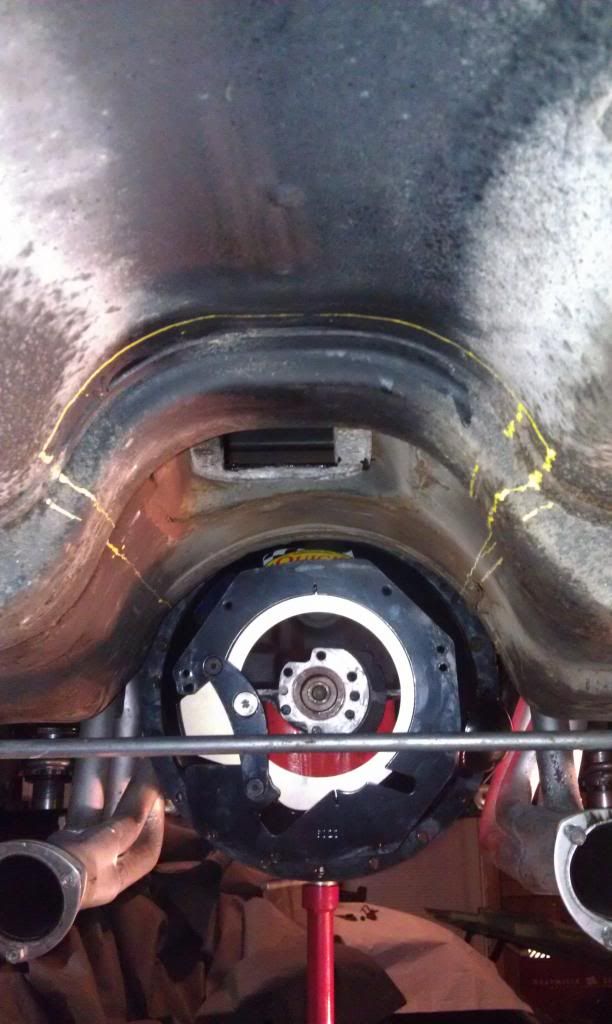
Cut lines. Note that I had to cut the seat brace out to fit my shifter. If you buy a T56 Magnum I am fairly certain you do not have to go that far.
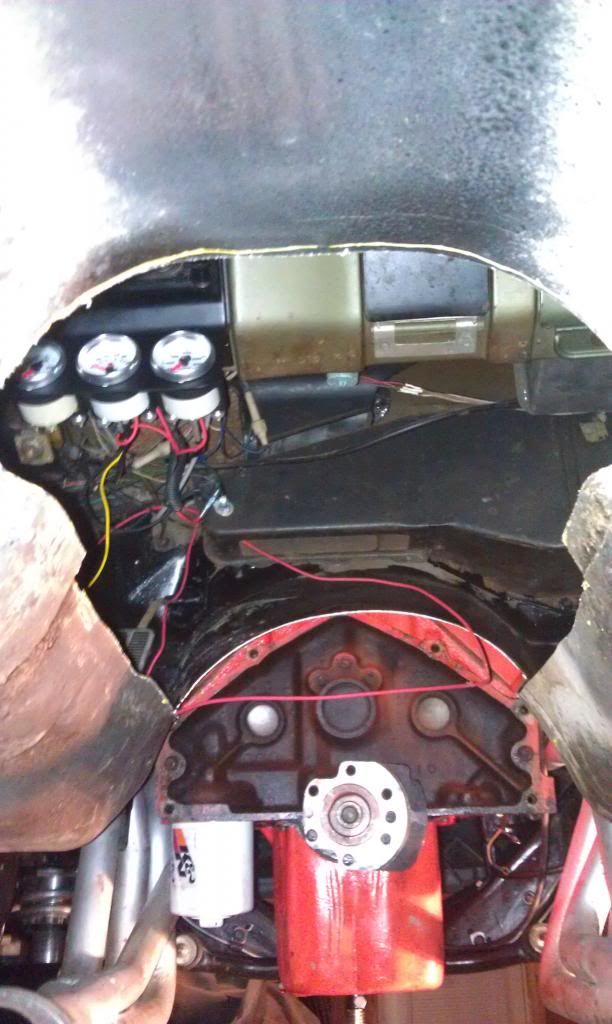
Great time to fix that radio I guess.
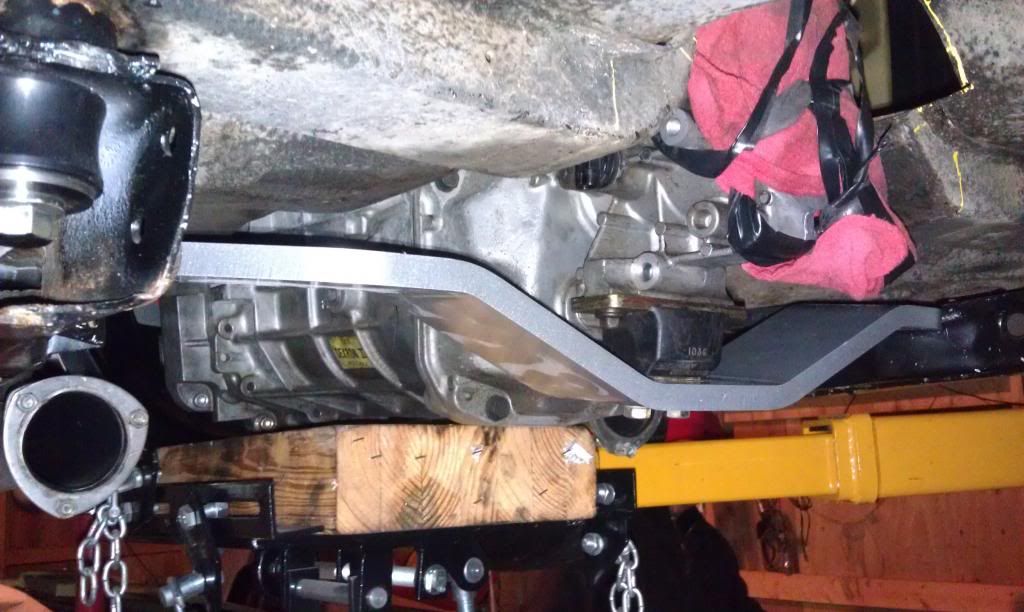
After cutting, plenty of room.
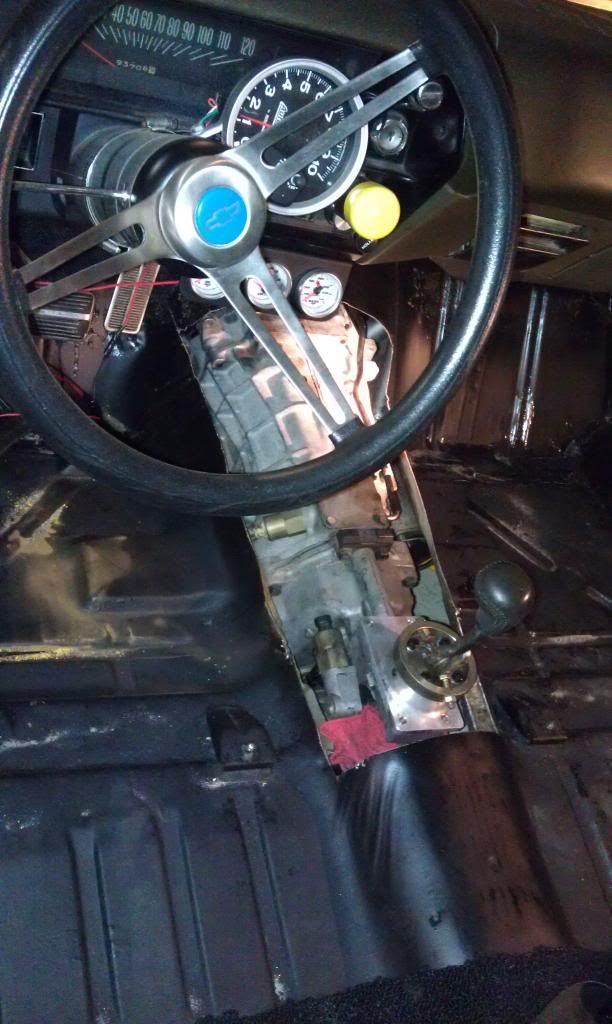
From the top down.
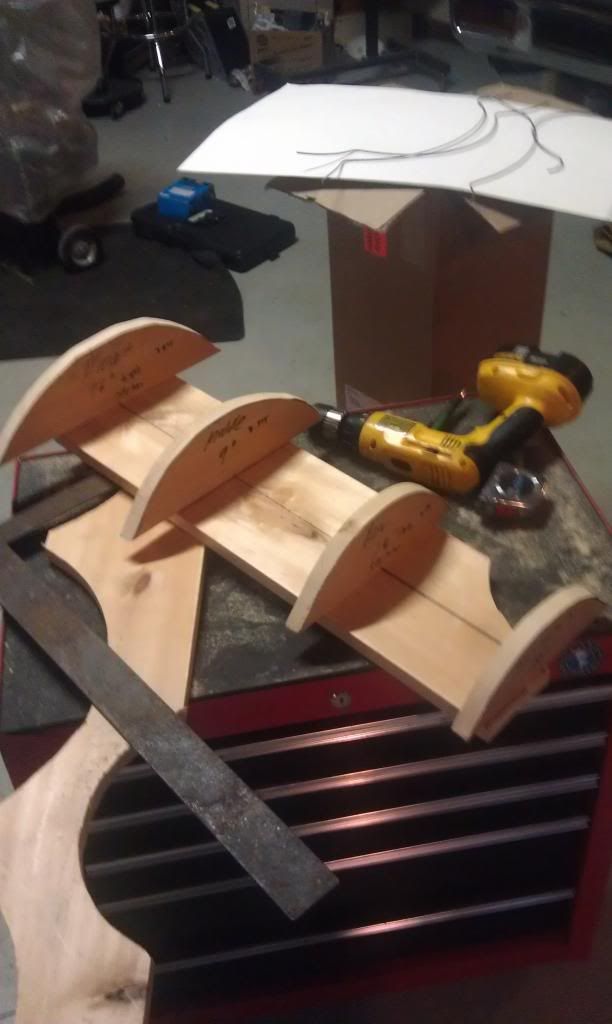
I made some contour curves with some wire and used them to make a 'frame' of sorts to make the new transmission tunnel. I am doing the tunnel in two pieces- an 18" front part and an 8" shifter section so I can mount a shifter boot flat and maybe have more options for making a console later.
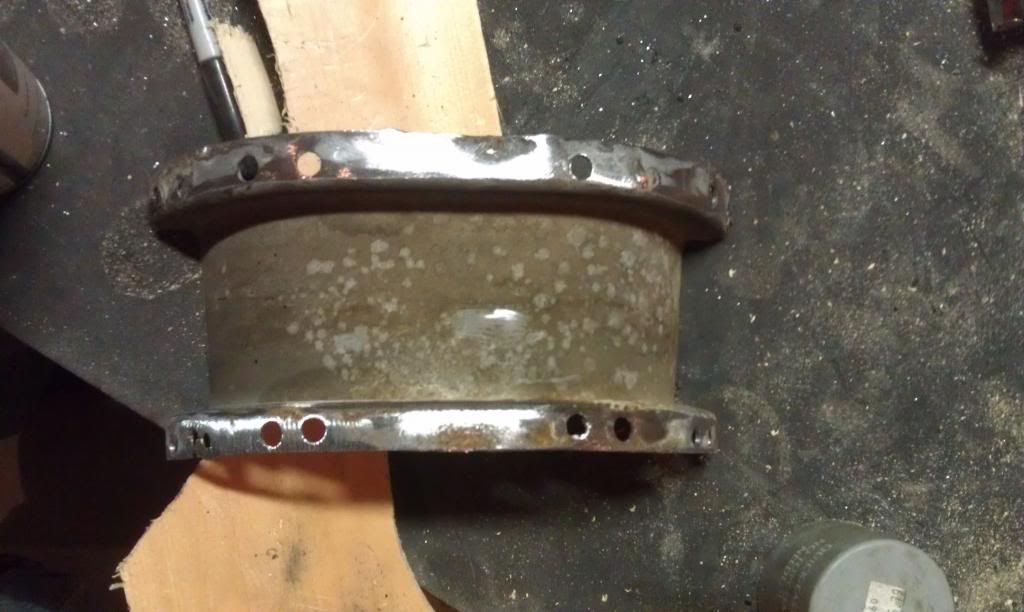
Section of seat crossmember I had to remove; seperated from the floor itself. Came out nice and clean. This will have to be reinstalled to restore the structural integrity of the seat brace.
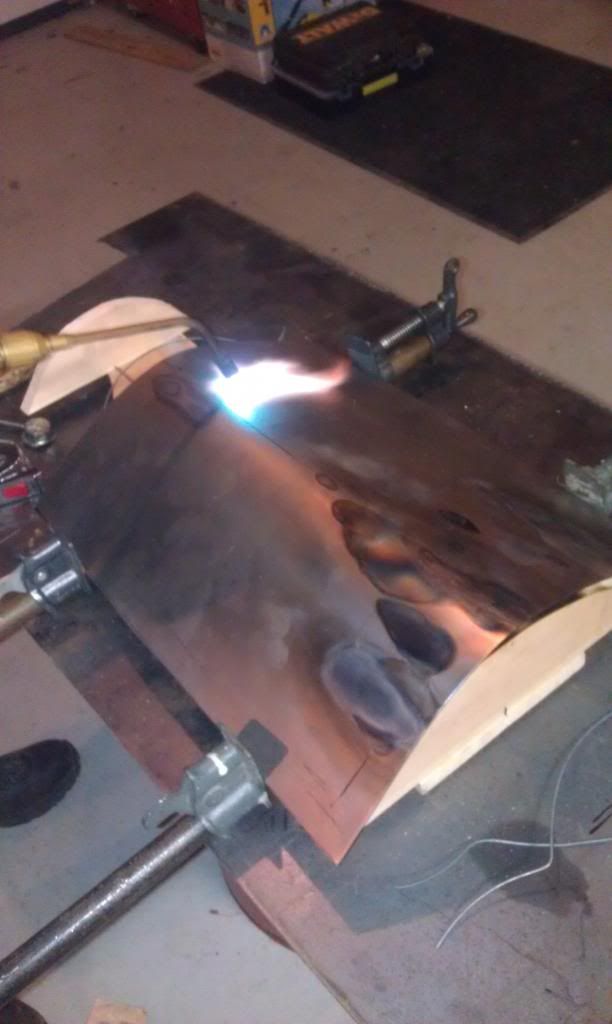
Tunnel in progress. Yes, I am fully aware that I am using an oxy rosebud with a wooden frame, and I exercised
extreme caution in doing so. We only needed the wooden frame for 15 minutes of metal work. I used 16ga steel.
At this point the tunnel is all done, the mechanicals are in, and I need to get the trans seated in the bellhousing. Then bolt it all up, wire the reverse stuff, measure the DS, and send it out.

